 If you ever considered upgrading your Amiga 600 or Amiga 1200 hard drive, then this article is something for you. We continue our Amiga 600 coverage now, but its for Amiga 1200 users also. Read on…
This is what you need
- Medium sized Screw driver
- Patience. This will take approx 20-30 min to do!
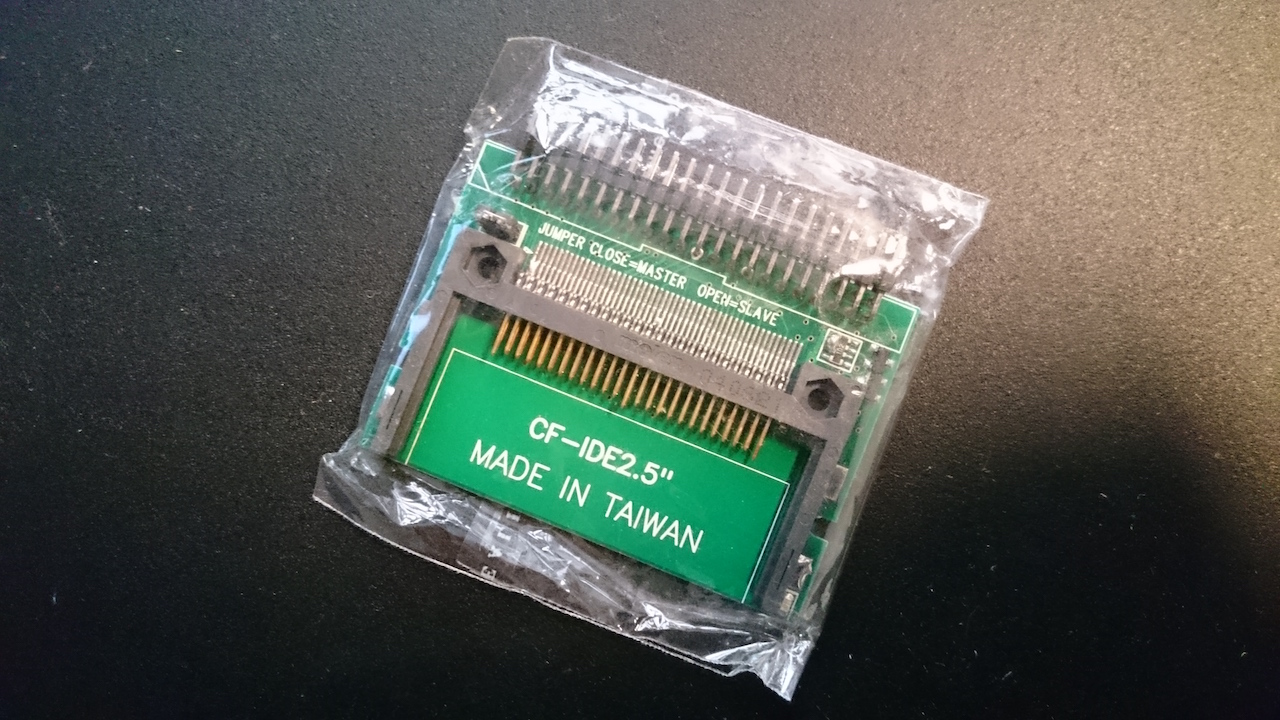
- IDE 2.5″ to CompactFlash adapter
- IDE 2.5″ cable if no HD is already installed*
Installing the adapter
- You need to open your Amiga 600 or Amiga 1200
- Unscrew all of the screws on the back of your Amiga case
- Remove the HD that eventualy sits in the IDE slot, remove the HD holder itself and the remaining screws holding the metal plate. Make also sure to bend up metallic holders of the metal plate before removing it
- Unscrew and unplug the Amiga floppy drive, before you can pull the metal holder up. Put everything on a nice place and then connect the IDE cable that you have if there was a HD already installed to your IDE 2.5″ HD to the IDE 2.5″ to CompactFlash adapter instead. – If you don’t have a HD installed already, it’s nice to have a IDE 2.5″ cable ready
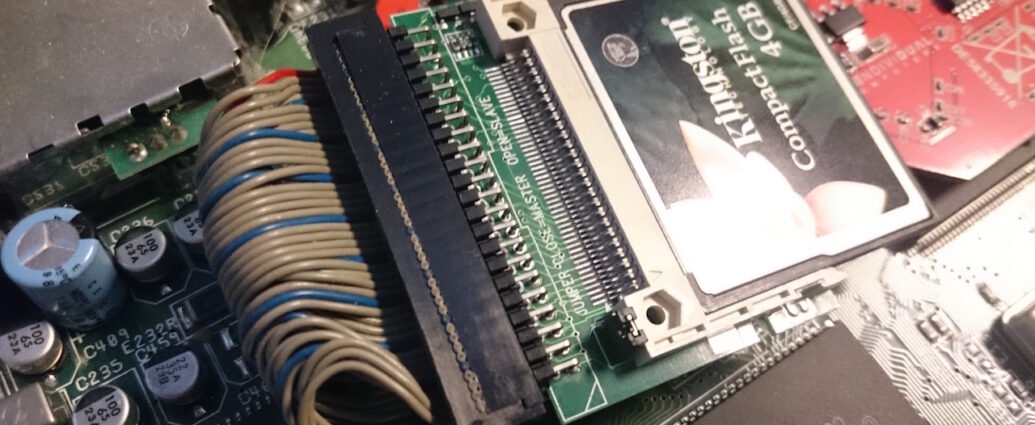
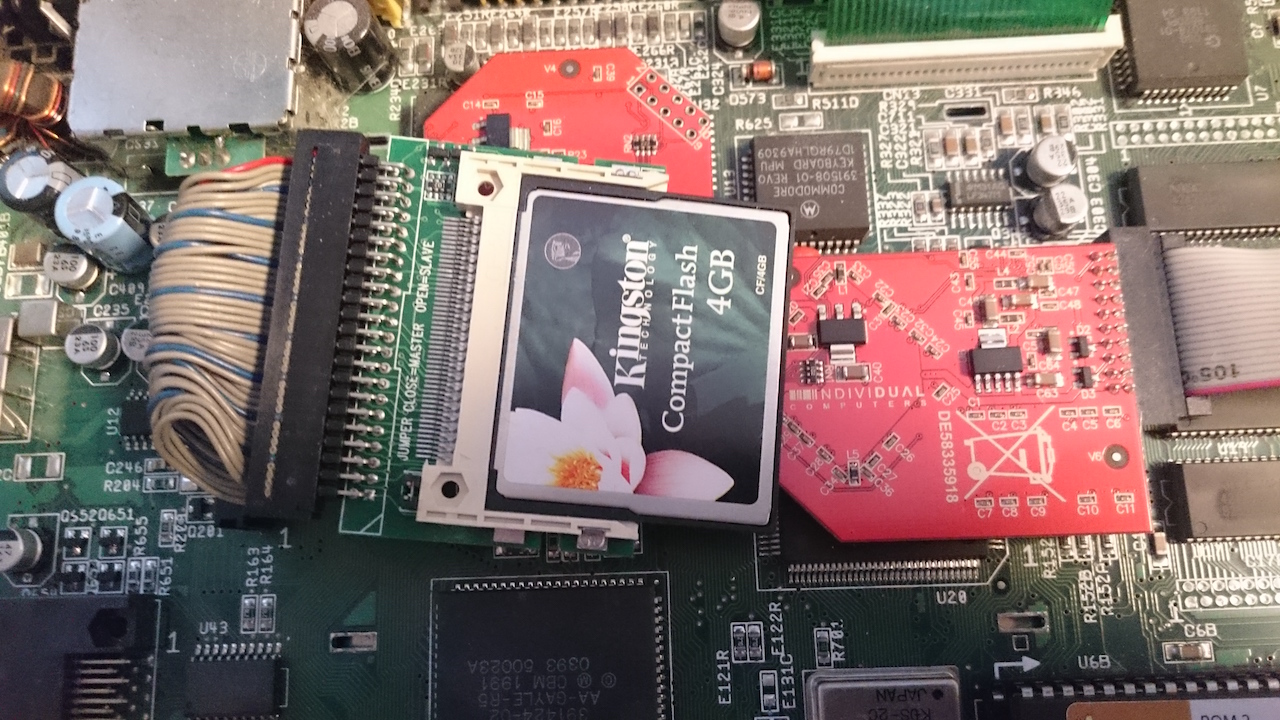
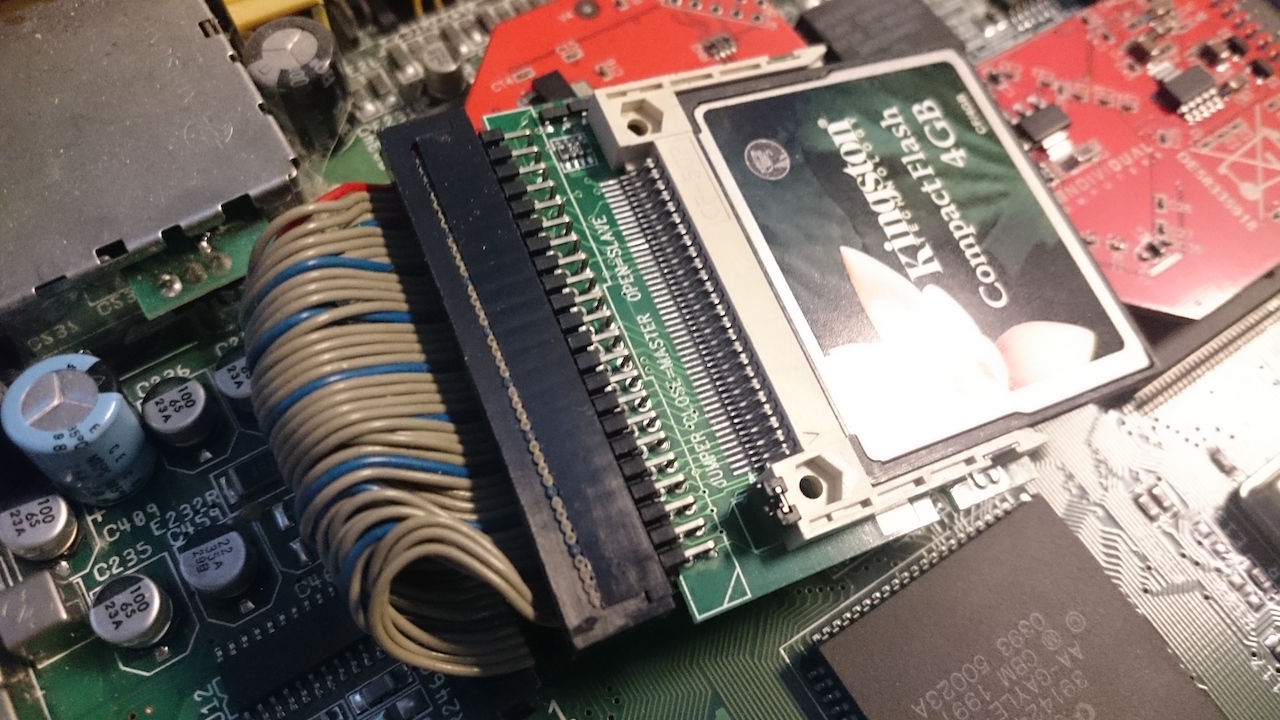
Installing the IDE 2.5″ to CompactFlash adapter itself, shouldn’t be any problem. You can plug the adapter directly onto the Amiga 600 or Amiga 1200 motherboard IDE slot, but then the casing won’t fit unless you have made a Tower out of your Amiga. There are also other adapters that doesnt actually need a IDE cable at all also. However,.. its better to have a IDE cable if you want to use the same adapter as I have.
Where to buy the adapter!?
- IDE cable needed adapter! (Amedia Computer France)
- No IDE cable needed adapter! (Amedia Computer France)
- IDE cable needed adapter. Supports 2 CF cards! (GGS-Data Sweden)
- No IDE cable needed adapter! (AmigaKit.com)
Other similar adapters!?
All of the prices and products was checked on 17th of March 2017
Conclusion to this IDE 2.5″ HD to Compact Flash helping guide
With compact flash memcards or even SD memcards you can test several things on your Amiga. You can have different memcards with different AmigaOS set-ups also. Its a really fun way to get your Amiga active again. Make sure that the filesystem you install is Smart File System (SFS) and not Fast File System (FFS).
We will look at how to install AmigaOS 3.1 with different setups later. You just need to know what cpu you have, how much mem your Amiga got and what Kickstart your Amiga 600 or Amiga 1200 got installed. Cloanto also sells Workbench 3.1 now that comes on Compact Flash memcards also, but if you install the Cloanto 3.x roms inside your Amiga 600 or Amiga 1200 (there are different Kickstart roms for A600 and A1200! One for A600 and Two for A1200) you need to get the Workbench.library and put it into SYS:Libs to make it work. Or get Workbench 3.1 from Cloanto itself and it will work.
So now, I hope that installing these adapters will help your Amiga a lot. Install whdload and have a blast on a “faster” Amiga even! You will notice this either on 68000 or 68060 basic set-up for sure. I did though.
Source
Amitopia own Experience

Thanks, great article.