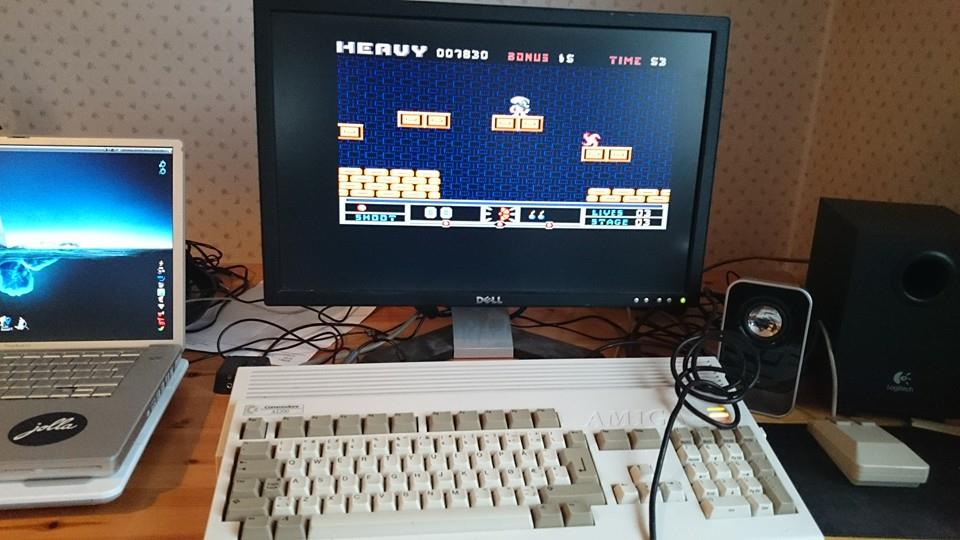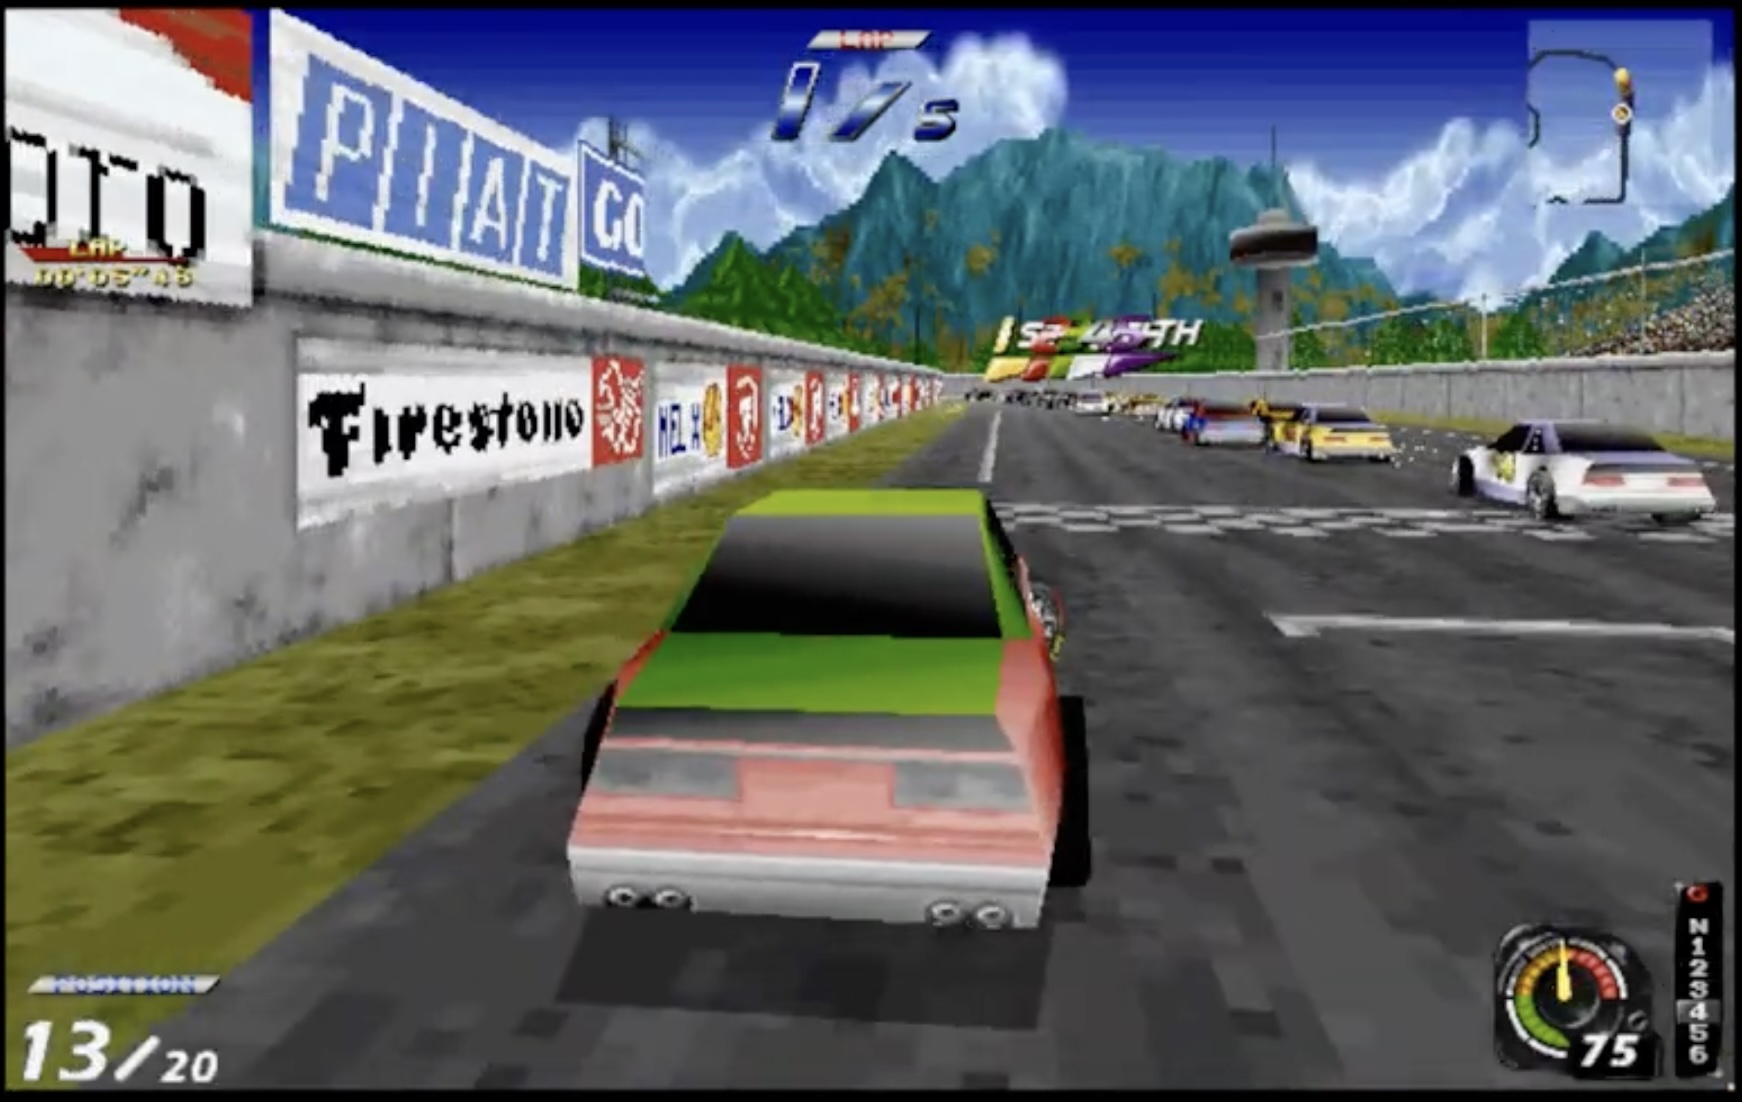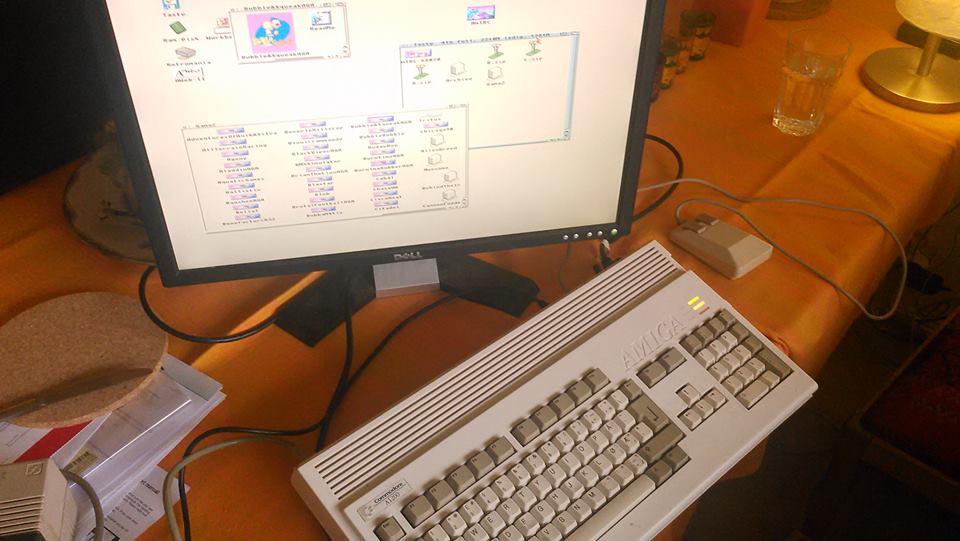
Back in 1993, Commodore released Amiga 1200 which is one of world´s most loved computer by users and 3rd party Amiga hardware manufactures. This little computer-beast from Commodore got accelerator cards, memory expansions, PCI slot upgrades and now even a Scandoubler that fades anything else out there of market for Amiga. This version also works on Amiga 4000T, but installing in on it needs more knowledge. Indivision AGA mk2cr delivers crystal clear picture thru its DVI connector.
Here are some key Features
- Flicker fixer with DVI-I output for the A1200
- A1200 internal, plugs over Lisa chip, no other chip-connections (other internal flickerfixers used an additional Alice-adapter)
- Full 24 bit colour depth for most screenmodes and output frequencies
- All OCS/ECS/AGA screenmodes displayed and scan-converted, output is always over 60Hz and flicker-free
- 16MB frame buffer on-board
- Pixelclock now can output at a maximum of 135MHz
- Use screenmodes such as HD720 (1024×768) and XTREME (1280×1024) on your Amiga 1200!
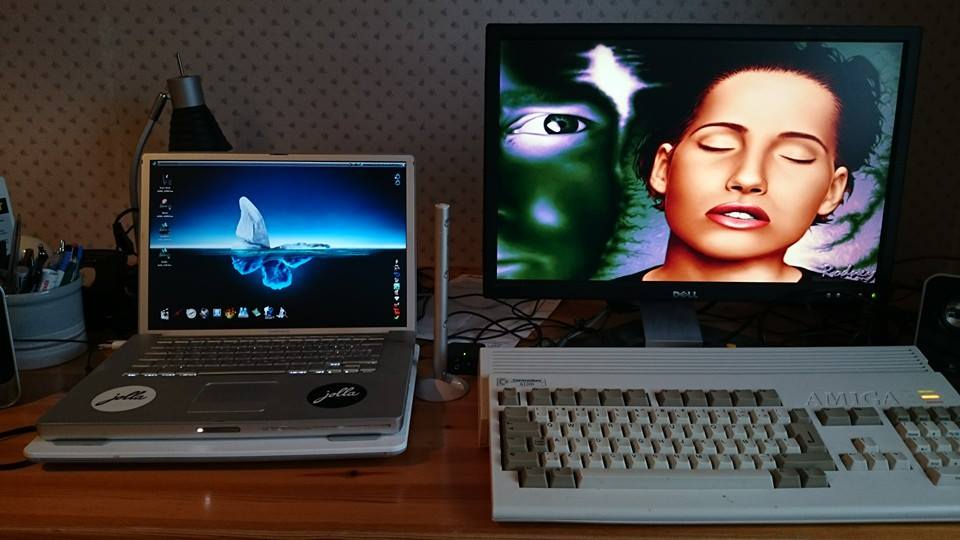
As you see on the pictures above, the quality is quite good. But is it easy to connect Indivision AGA mk2?
– Yes it is! But you need some skills and it requires you to open the Amiga 1200 case. It also challenges you a bit on where to put the DVI-I connector so its easy to reach when you have put everything back together. The upper metal RF shielding will have to be removed to install the unit onto the Lisa chip of the A1200 motherboard.
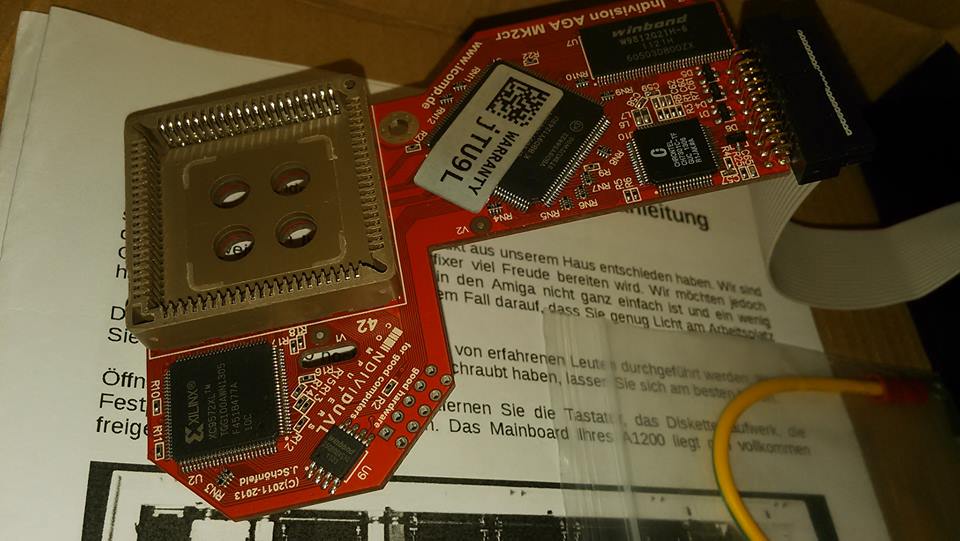
Here you see how the Indivision AGA mk2 card looks like in open air before it is connected inside our Amiga 1200 case. The DVI connector installation might be a bit hard, but once you figure out how to guide the DVI cable to the extra space slot at the backside of A1200 its pretty easy. There is also 3D printer decks and some Amiga dealers sells a DVI holder plate if you want it to look nicer.
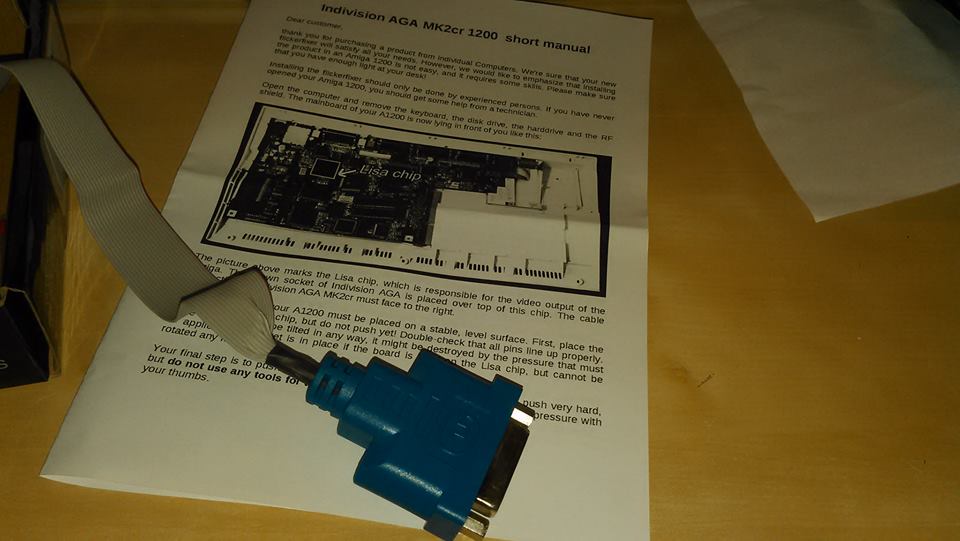
Installing the card when you have opened the case and everything is easy, but it can feel a bit strange since you might think you can break the motherboard. But don´t be afraid. Amiga 1200 hardware is quite stable even if a pressure needs to be done by you. Just put the Indivsion AGA mk2 card on top of Lisa chip and press. For me it was quite easy as it put in place after just a small hard pressure.
This is how it should look like when the card is installed inside your Amiga 1200 motherboard
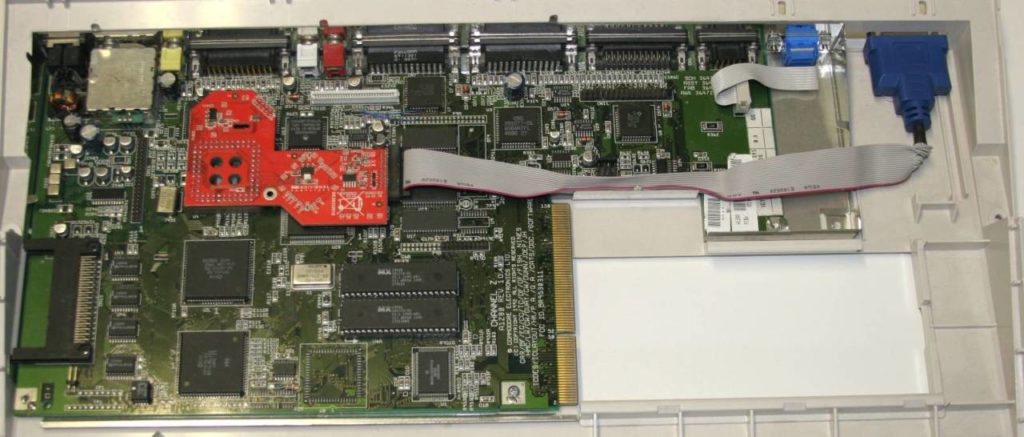
When everything is installed, just connect the DVI-I connector to any monitor which got that connector, or if you want to connect your Amiga 1200 to a HDMI connector, just buy a cheap converter.
There is no need for any drivers to be installed. This upgrade works straight out of the box, but if you want to have other modes than the regular ones. You need to get them from Aminet. Especially the drivers for 720p HD resolution etc. But do remember that chipmem is used for the graphics! So when using a 720p HD screenmode, its pretty much at Amigas limit.
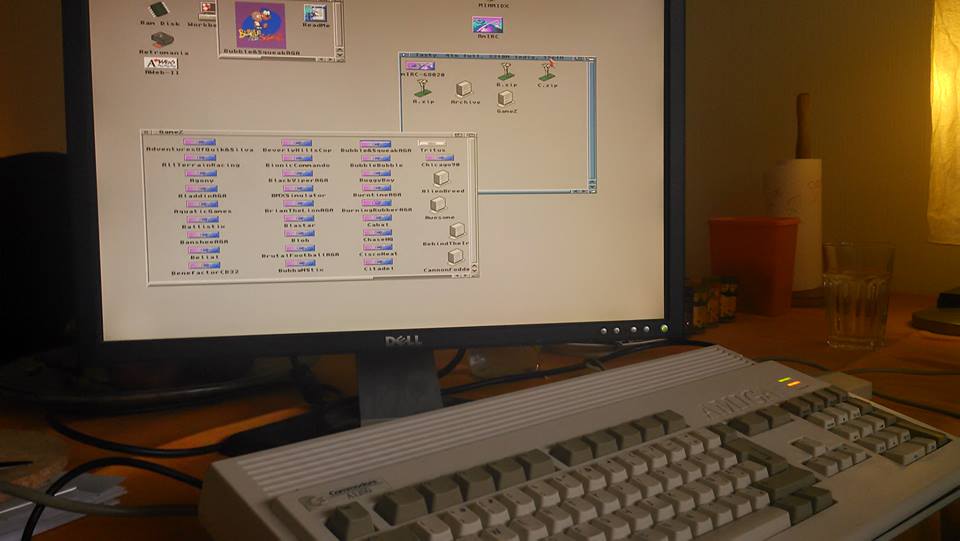
SO, did I get what I expected?
Yes, for sure! I did. This is even more than I expected. This is full score and I can use my old Amiga 1200 again. There are some nice software for this machine that still others does not have. Just a hint hint to Electronic Arts and Deluxe Paint?… Or just having nostalgia fun on modern monitors is a quite good thing to be able to do.
Just be aware that this card is Not compatible with the desktop A4000. A4000 desktop users should alternatively use the Indivision AGA 4000 / CD32 MK2cr.
Important Installation Notes for Amiga 4000T owners!
* Installation in the A4000T requires removal/replacement of electrolytic capacitor CE164C with a lower-profile type from the motherboard as the new connector is exactly in the place of that cap.
